
Before we start
Stripe webhooks enable receiving notifications when an event occurs in your stripe account, such as payment or subscription creation, customer creation, among others.
Data received varies depending on the event: payment intent id, amount, currency, etc., for payment creation, for example.
This NextJS tutorial focuses on webhook management solely, not stripe integration for your application. Assuming that you have a stripe account and prior knowledge in payment intent or customer creation, we will cover setting up a webhook handler in NextJS.
Setup webhook in Stripe
Go to your stripe dashboard, then click on the “Developers” tab, then on “Webhooks”.
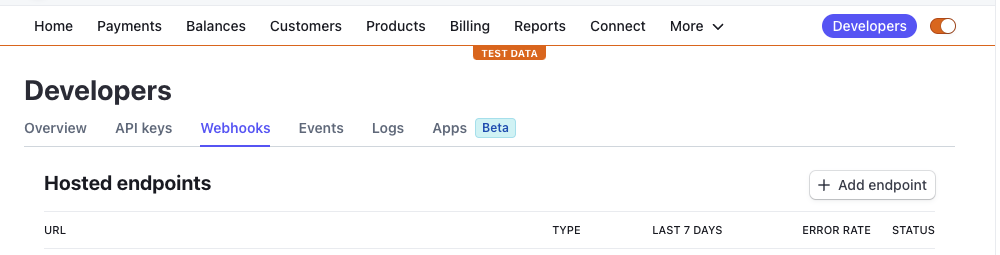
Then click on “Add endpoint”.
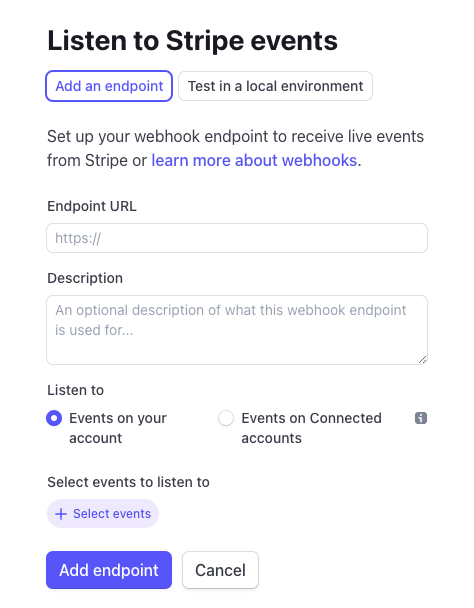
The url is the url of your NextJS application. For instance, if your application is deployed on Vercel, it will be something like https://your-app.vercel.app/api/webhooks.
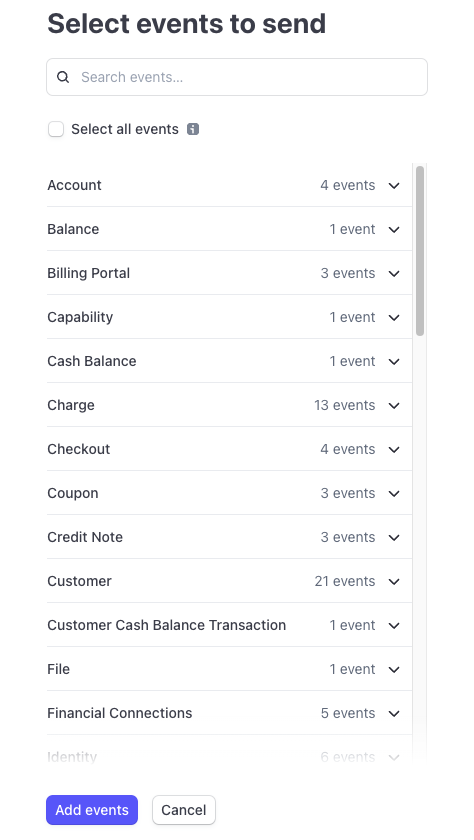
Then, you need to choose the events you want to listen to. For instance, if you want to listen to the payment_intent.succeeded event, you need to select “Payment intent succeeded” in the “Event types” dropdown.
Then click on “Add endpoint”.
Create a webhook handler
Lets jump right into the code. First, we need to create a handler that will be called when a webhook is received. We are going to create a file called webhooks.ts in the pages/api folder.
| |
Event specific logic
Lets say you have a subscription for your software and you want to update your database with the subscription ID when the checkout session is completed. You can do something like this:
| |
For the events list, you can refer to the stripe documentation.
Environment variables
As you can see, we will need 2 environment variables (locally in your .env.local file):
STRIPE_SECRET_KEYSTRIPE_ENDPOINT_SECRET
You can find them in your stripe dashboard, in the “Developers” tab, then “API keys”.
Testing the webhook locally
Now that we have our webhook handler, we need to test it. The problem is that we can’t test it locally because stripe needs to be able to send a request to our application. So we need to expose our local application to the internet.
The easiest way is to use stripe cli. You can download it here.
Then, you need to login to your stripe account:
| |
Then, you need to start listening to the events and forward the request to our local application.:
| |
Now we can just use our app locally and debug the events based on our flow.
If you want to trigger a specific event, you can use the trigger command:
| |
Just as a general note, you should test in “test mode” first, then when you are ready, you can switch to “live mode”.