A practical look at how I moved from prompt-driven coding to a staged, artifact-driven workflow. How agentic-skills structures tasks into requirements, architecture, implementation, and review - and what that looks like on a real change.
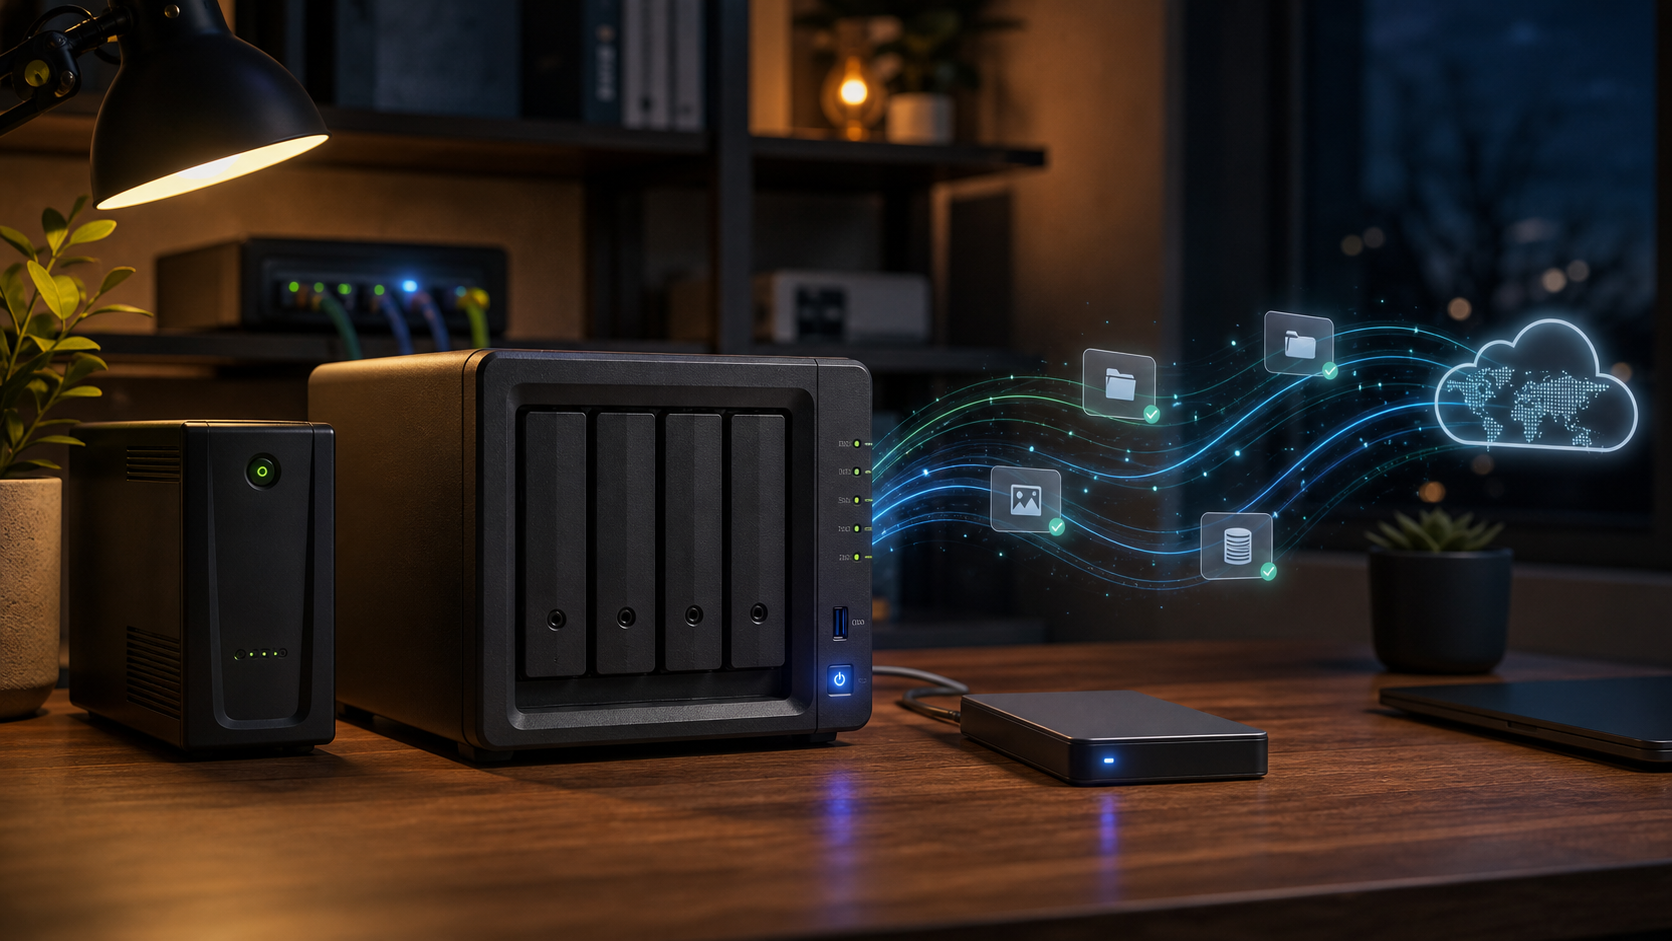
A practical backup architecture for my homelab: NAS, Time Machine, Home Assistant, Docker apps, cloud storage, offline USB disks, and the restore tests that make the whole thing real.
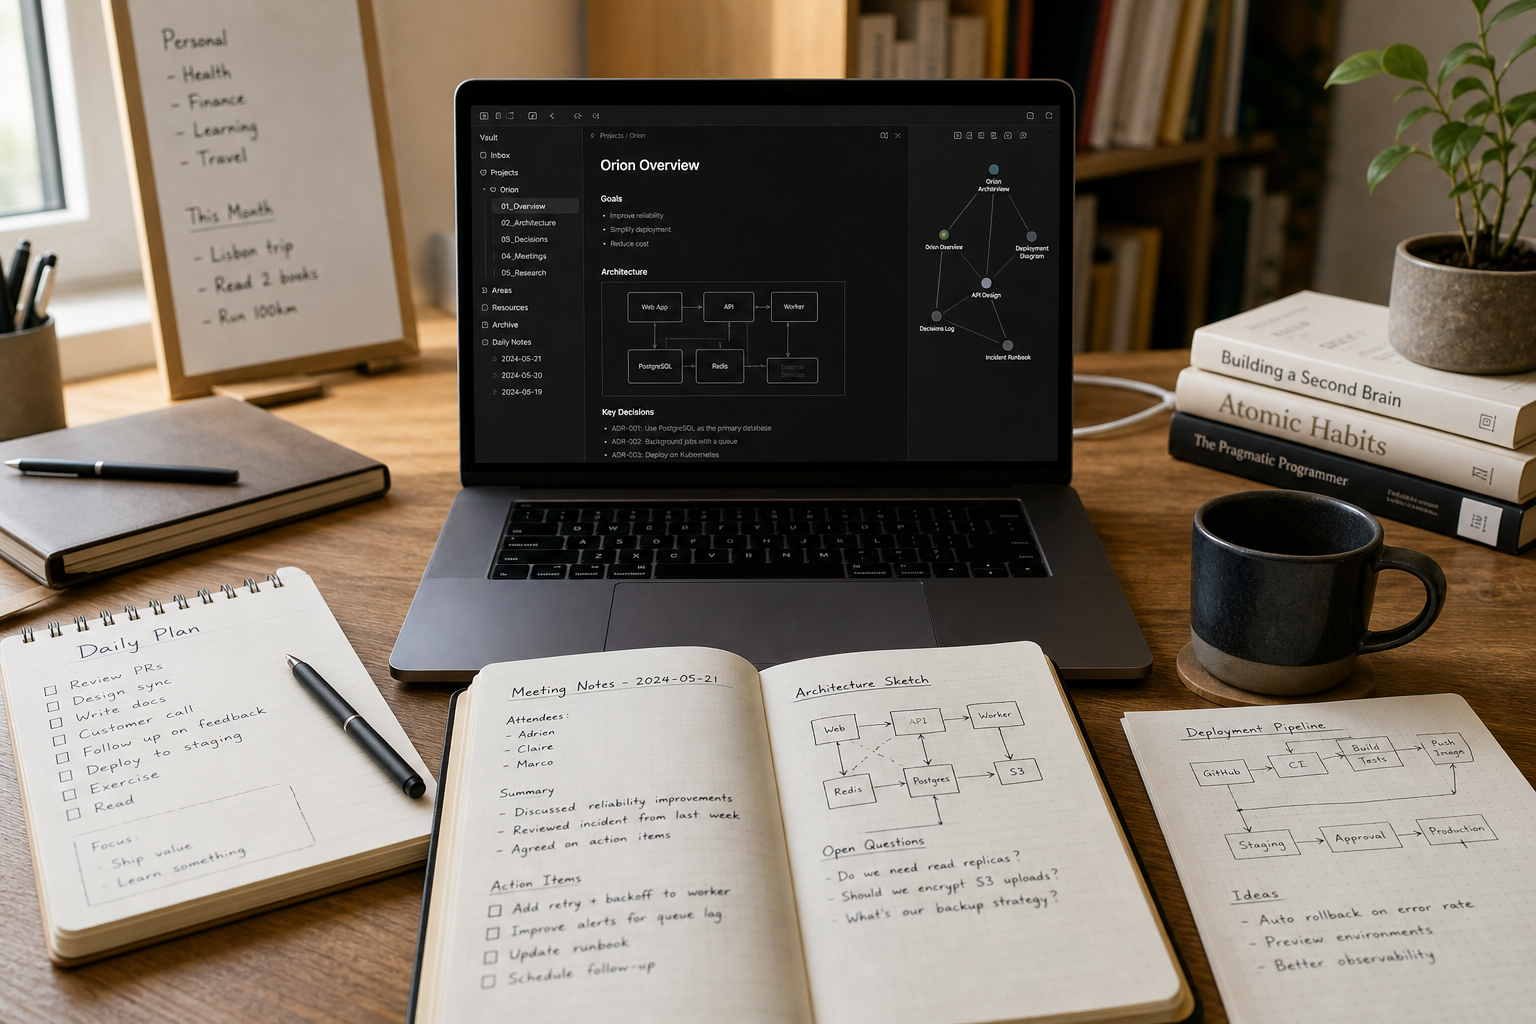
How I use Obsidian as the central hub for projects, daily work, personal knowledge, and AI-assisted documentation workflows.
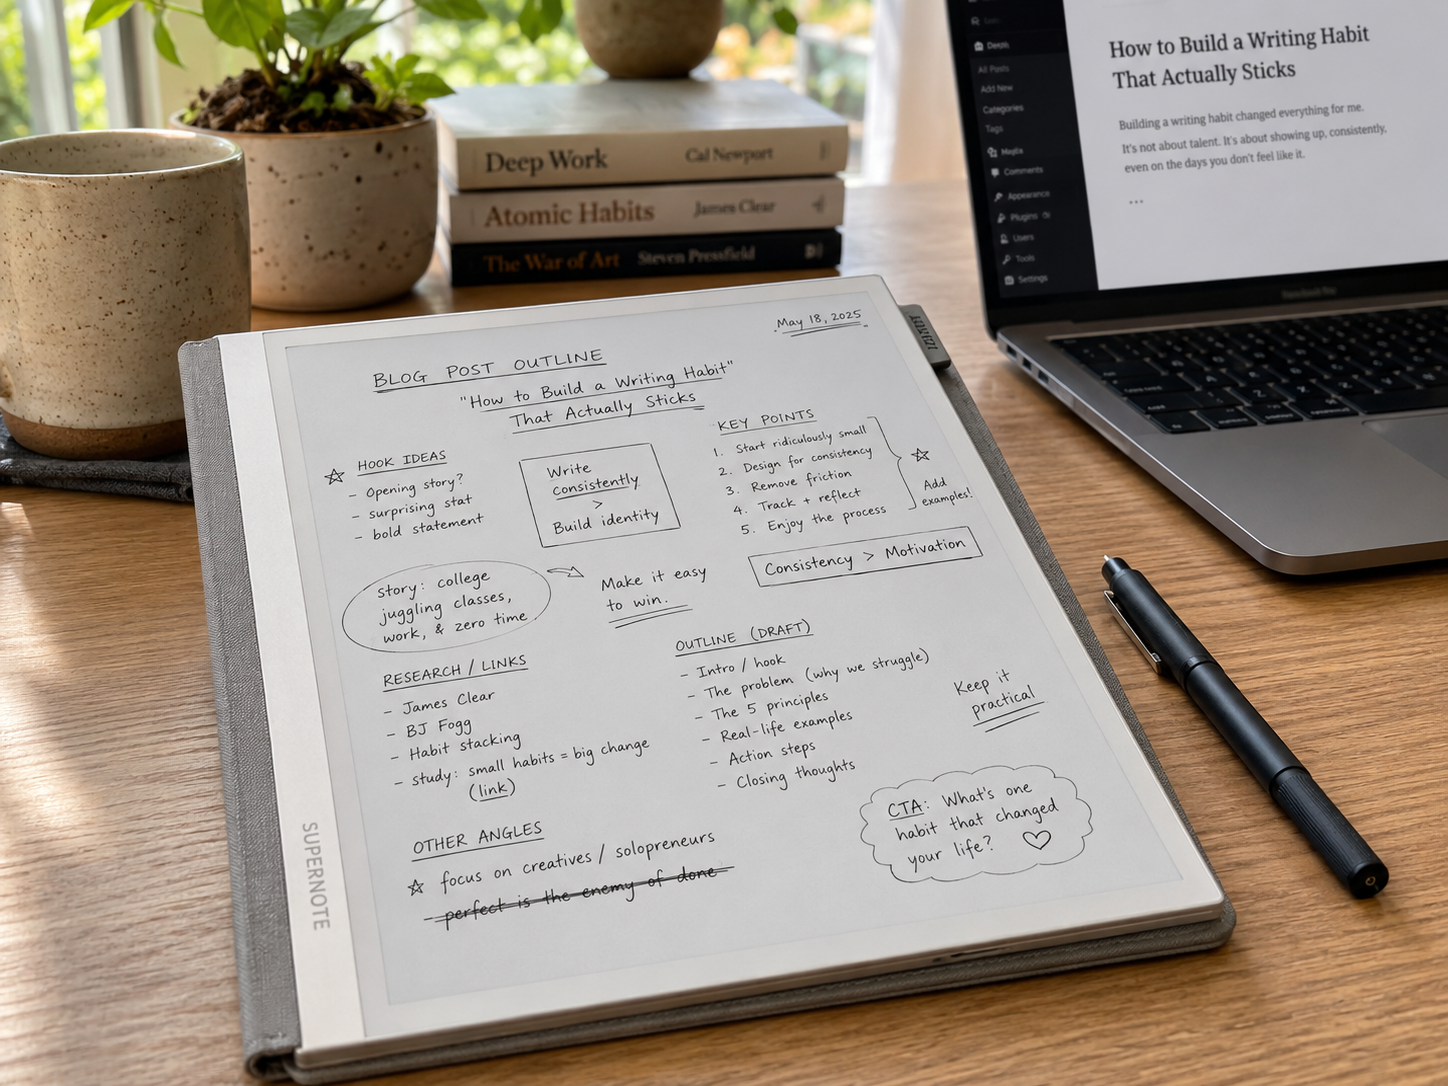
Why I use the Supernote as a thinking device for meetings, debugging, and early drafts before everything moves into Obsidian.
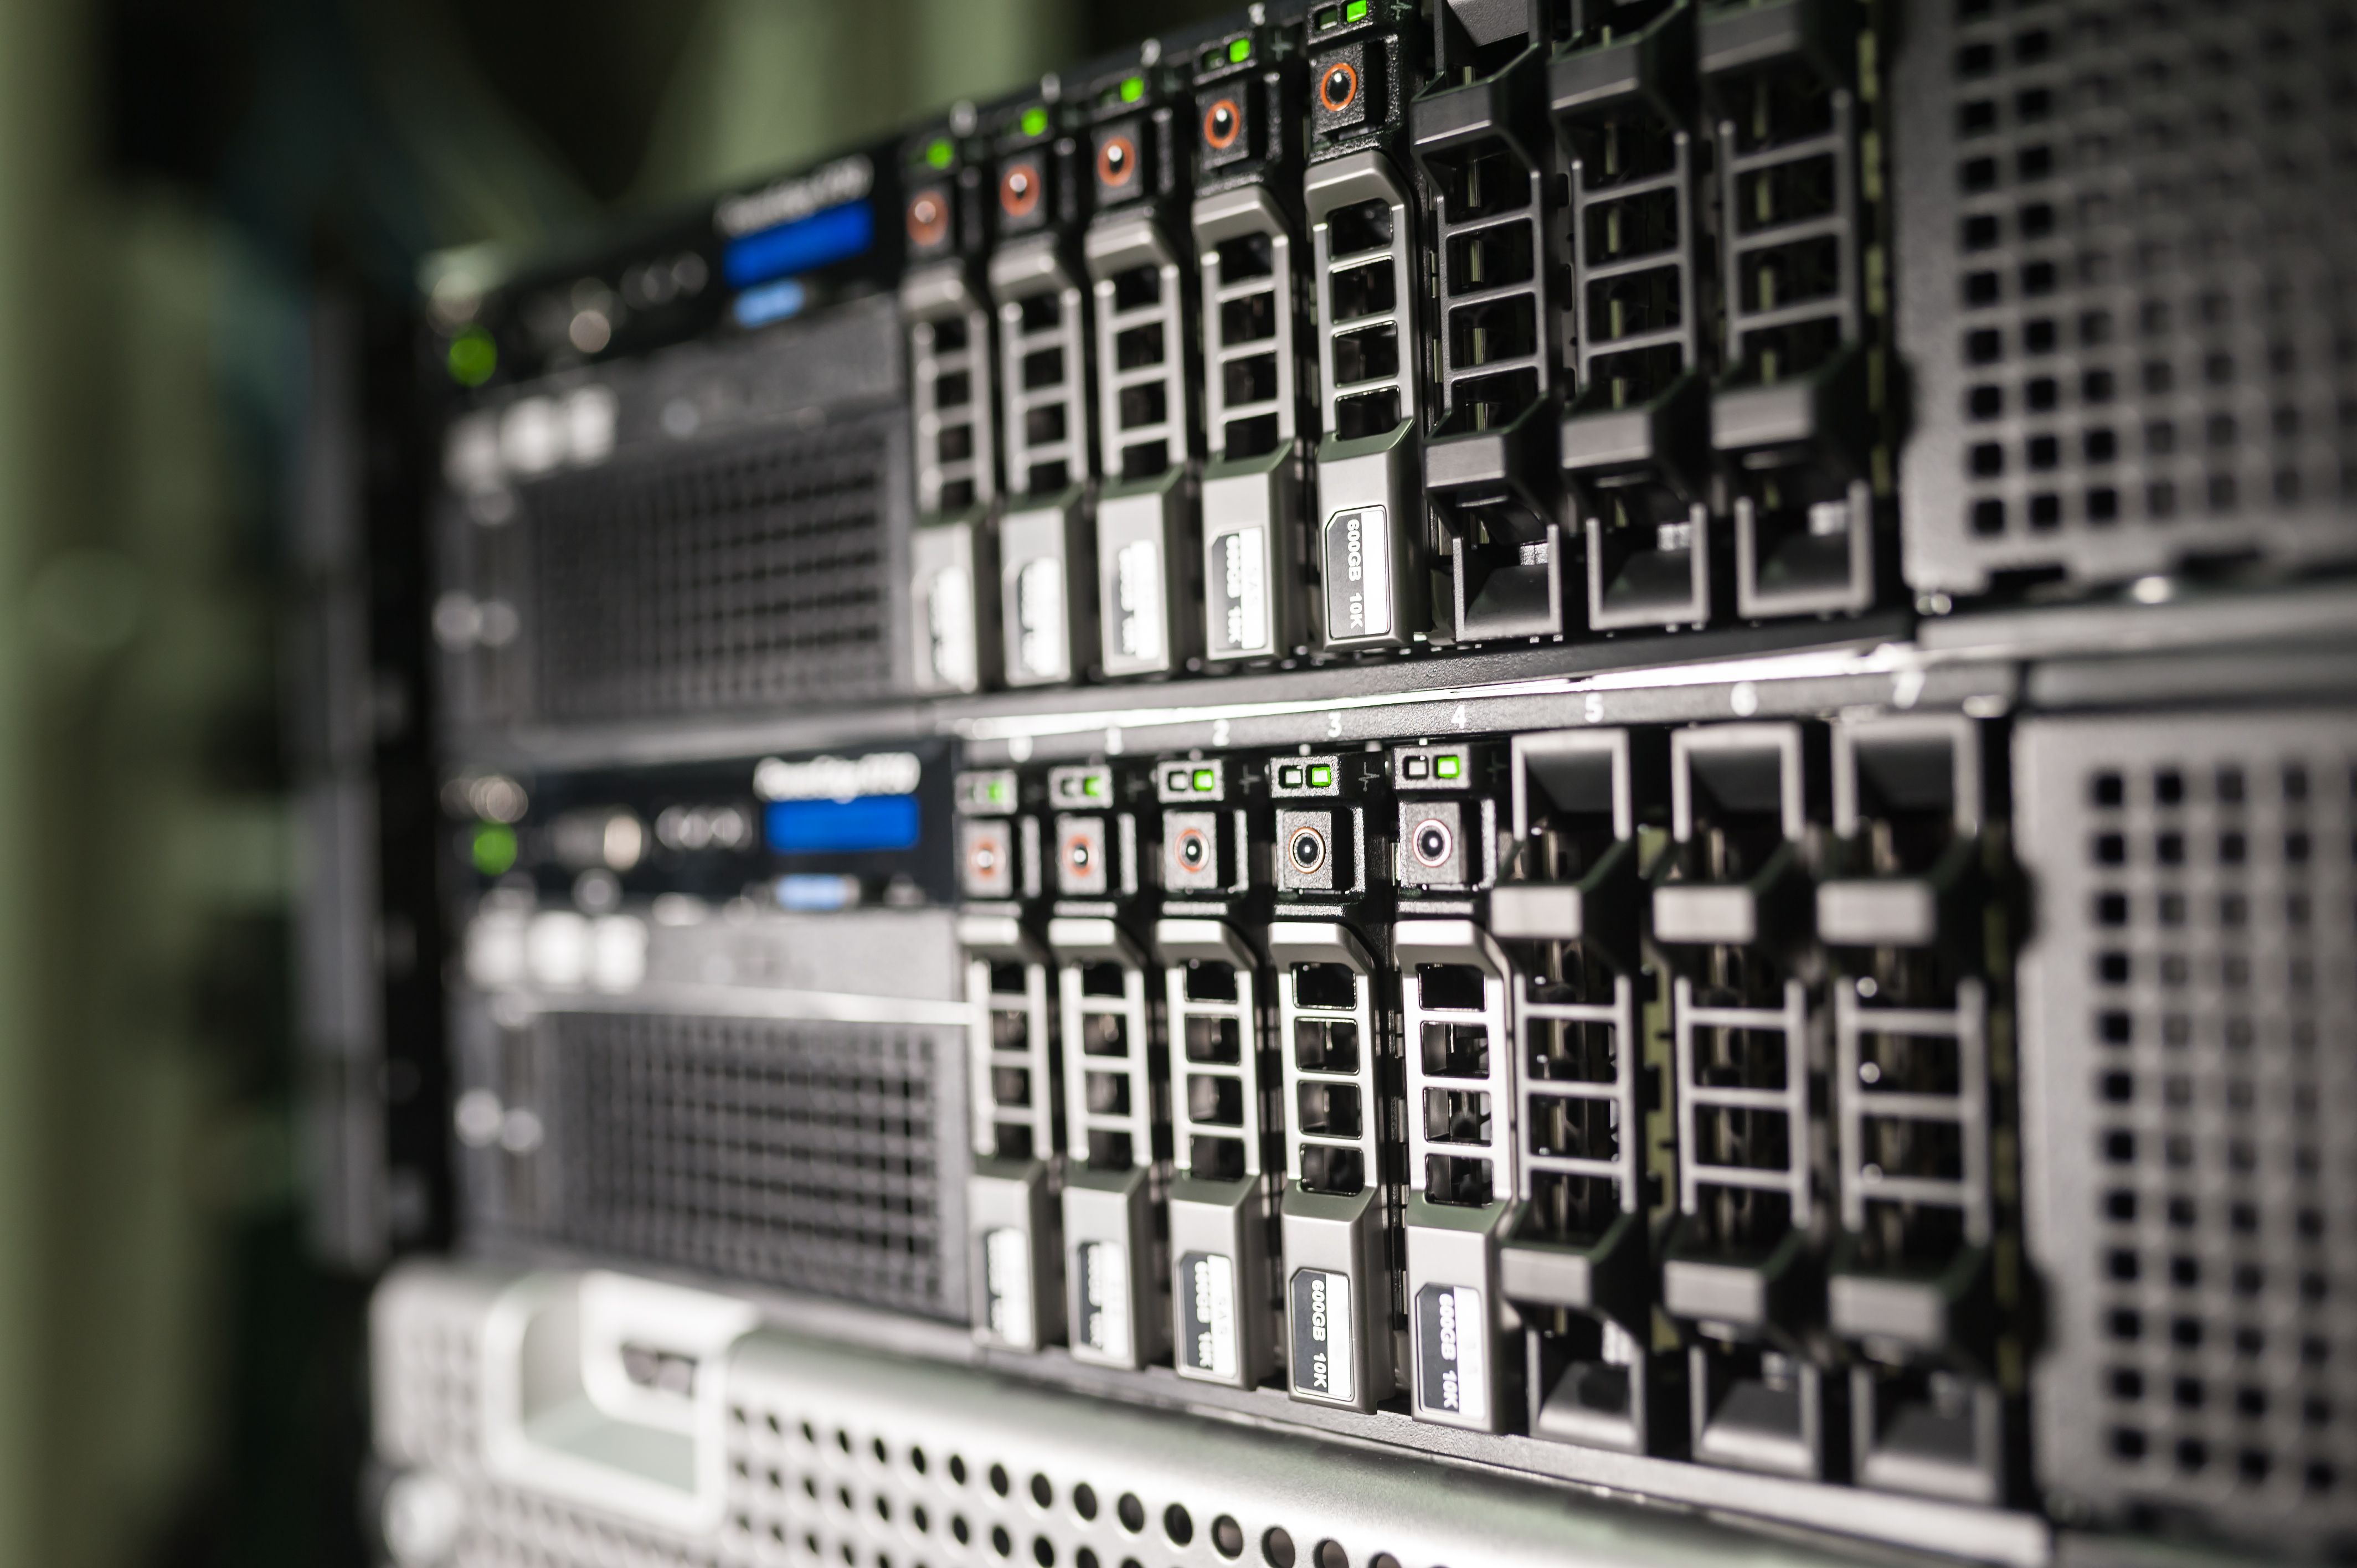
A tour of my self-hosted infrastructure - from reverse proxy to local AI, CI/CD pipelines, document management, and home automation.