If you want to jump straight to the source code, here’s the link to the github repository.
Preview of the UI
Here’s what we are going to build:
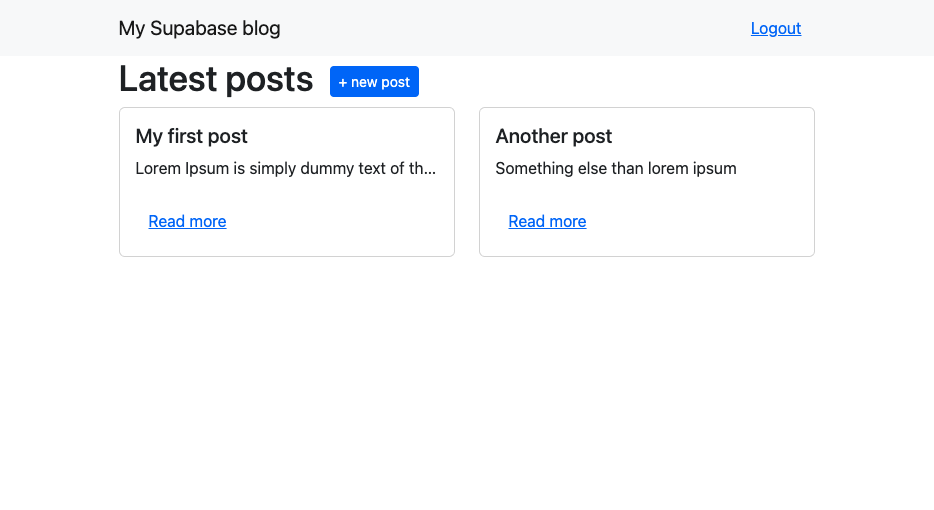
The home page
Based on what we’ve done in the previous part, we are now going to create a component to display the posts called PostList.
 1
 2
 3
 4
 5
 6
 7
 8
 9
10
11
12
13
14
15
16
17
18
19
20
21
22
| // --- src/components/PostList.tsx ---
const PostList = () => {
const [posts, setPosts] = useState<Post[]>([]);
return (
<Container>
<Stack direction="horizontal" gap={3}>
<h1>Latest posts</h1>
<Link href={`/posts/new`} legacyBehavior>
<Button>+ new post</Button>
</Link>
</Stack>
<Row xs={1} md={2}>
{posts.map((post) => (
<Col key={post.id}>
<PostCard post={post} />
</Col>
))}
</Row>
</Container>
);
};
export default PostList;
|
Nothing complicated, we just display the posts in a grid. We also have a button to create a new post.
Because we are using bootstrap, we need to use the legacyBehavior prop on the Link component to make it work. Now by default next/link creates a a tag with a href attribute. This is not compatible with bootstrap as bootstrap already creates a a tag with the Button component.
More info in the doc here.
Quick note about the types: we are using the Post type from the types/Post.ts file which uses the types from the database.
You can generate them by running: npm run dev:gen-types
Now we need a nav bar to display the login button and the title of the blog.
 1
 2
 3
 4
 5
 6
 7
 8
 9
10
11
12
13
14
15
16
17
18
19
20
21
22
23
24
25
26
27
28
29
| // --- src/components/Header.tsx ---
const Header = () => {
const user = useUser(); // hook from '@supabase/auth-helpers-react';
const [showModal, setShowModal] = useState(false);
const handleLogout = () => {
// logout logic will go here
};
return (
<>
<SignupModal show={showModal} handleClose={() => setShowModal(false)} />
<Navbar bg="light">
<Container>
<Navbar.Brand href="#home">My Supabase blog</Navbar.Brand>
<Navbar.Toggle />
<Navbar.Collapse className="justify-content-end">
{user ? (
<Button variant="link" onClick={handleLogout}>
Logout
</Button>
) : (
<Button onClick={() => setShowModal(true)}>Login</Button>
)}
</Navbar.Collapse>
</Container>
</Navbar>
</>
);
};
export default Header;
|
Those components will be used in the index.tsx file.
 1
 2
 3
 4
 5
 6
 7
 8
 9
10
11
12
| // --- src/pages/index.tsx ---
const Home = () => {
return (
<>
{/* see previous step */}
<main>
<Header />
<PostList />
</main>
</>
);
};
|
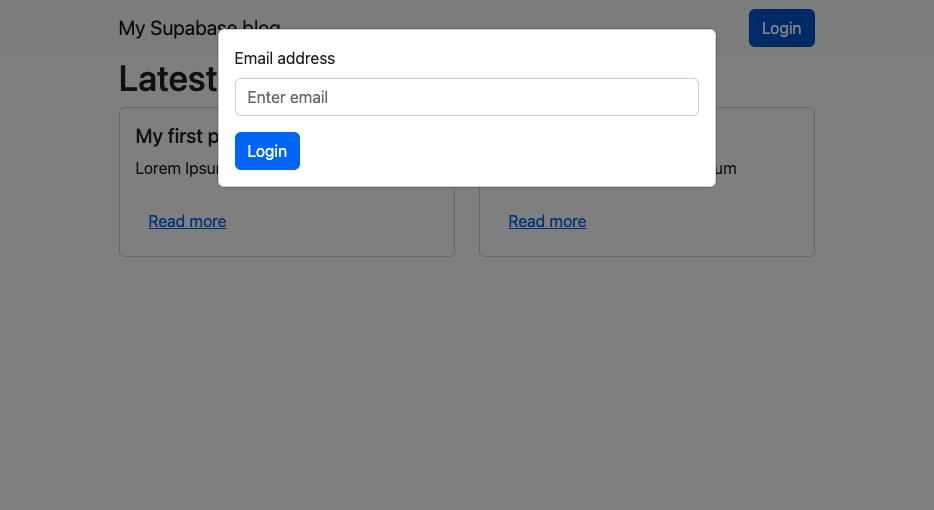
The login modal 🔒
We are going to use the Modal component from bootstrap to display the login form so we don’t need to create a separate page.
 1
 2
 3
 4
 5
 6
 7
 8
 9
10
11
12
13
14
15
16
17
18
19
20
21
22
23
24
25
26
27
28
29
30
31
| // --- src/components/SignupModal.tsx ---
const SignupModal = ({ show = false, handleClose }: Props) => {
const [email, setEmail] = useState('');
const handleSubmit = async (evt: FormEvent<HTMLFormElement>) => {
evt.preventDefault();
// login logic will go here
};
return (
<Modal show={show} onHide={handleClose}>
<Card body>
<Form id="login" onSubmit={handleSubmit}>
<Form.Group className="mb-3" controlId="formLoginEmail">
<Form.Label>Email address</Form.Label>
<Form.Control
type="email"
value={email}
onChange={({ target }) => setEmail(target.value)}
/>
</Form.Group>
<Button type="submit" disabled={loading}>
Login
</Button>
</Form>
</Card>
</Modal>
);
};
export default SignupModal;
|
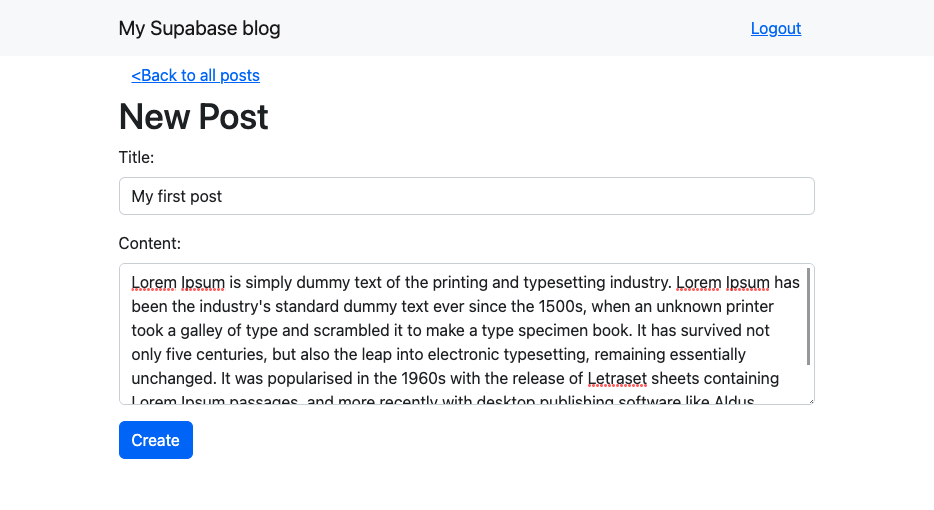
Post creation page
For this new page (/posts/new), we are going to keep the logic simple and in the page, the form will be a separated component called PostEditForm.
 1
 2
 3
 4
 5
 6
 7
 8
 9
10
11
12
13
14
15
16
17
18
19
20
21
22
23
| // --- src/pages/posts/new.tsx ---
const NewPostPage = () => {
const handleSubmit = async (title: string, body: string) => {
// create post logic will go here
};
return (
<>
<main>
<Header />
<Container>
<Link href="/" legacyBehavior>
<Button variant="link">{'<'}Back to all posts</Button>
</Link>
<h1>New Post</h1>
<PostEditForm saveForm={handleSubmit} />
</Container>
</main>
</>
);
};
export default NewPostPage;
|
The PostEditForm component is pretty simple, it just displays a form with one input and a submit button.
 1
 2
 3
 4
 5
 6
 7
 8
 9
10
11
12
13
14
15
16
17
18
19
20
21
22
23
24
25
26
27
28
29
30
31
32
33
34
35
36
37
38
39
40
41
42
| // --- src/components/PostEditForm.tsx ---
const PostEditForm = ({ saveForm, post }: Props) => {
const [title, setTitle] = useState('');
const [body, setBody] = useState('');
// if we are editing a post, we need to set the initial values on mount
useEffect(() => {
if (post) {
setTitle(post.title);
setBody(post.body);
}
}, [post]);
const handleSubmit = async (e: React.FormEvent<HTMLFormElement>) => {
e.preventDefault();
await saveForm(title, body);
};
return (
<Form onSubmit={handleSubmit}>
<Form.Group className="mb-3">
<Form.Label>Title:</Form.Label>
<Form.Control
value={title}
onChange={({ target }) => setTitle(target.value)}
/>
</Form.Group>
<Form.Group className="mb-3">
<Form.Label>Content:</Form.Label>
<Form.Control
as="textarea"
rows={3}
value={body}
onChange={({ target }) => setBody(target.value)}
/>
</Form.Group>
<Button type="submit">Save</Button>
</Form>
);
};
export default PostEditForm;
|
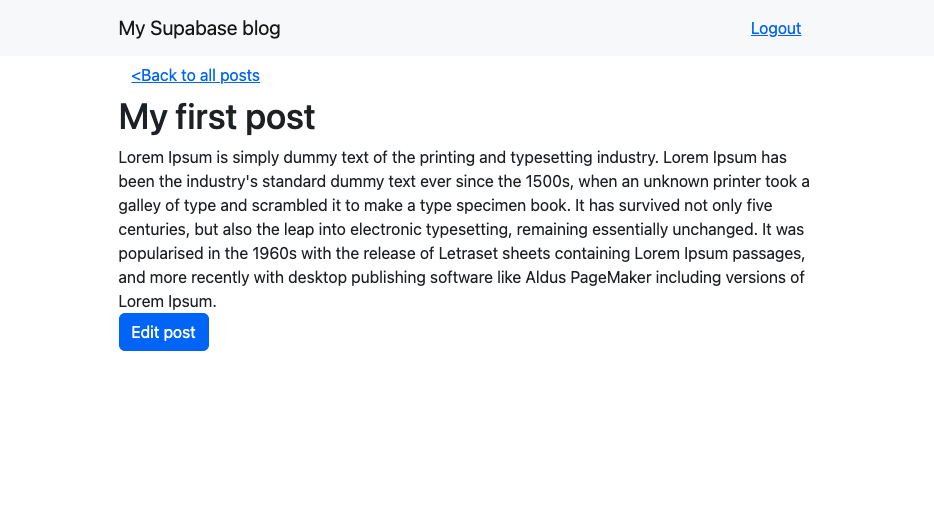
The post page and the edit page 📝
The post page will display the post and a button to edit it. The edit component will be the same as the new post component but with the initial values set.
 1
 2
 3
 4
 5
 6
 7
 8
 9
10
11
12
13
14
15
16
17
18
19
20
21
22
23
24
25
26
27
28
29
30
| // --- src/pages/posts/[id].tsx ---
const PostPage = ({ post }: Props) => {
const [isEditing, setIsEditing] = useState(false);
const handleSubmit = async (title: string, body: string) => {
// update post logic will go here
};
return (
<main>
<Header />
<Container>
<Link href="/" legacyBehavior>
<Button variant="link">{'<'}Back to all posts</Button>
</Link>
{isEditing ? (
<PostEditForm post={post} saveForm={handleSubmit} />
) : (
<>
<h1>{post.title}</h1>
<div>{post.body}</div>
{user && user.id === post.author && (
<Button onClick={() => setIsEditing(true)}>Edit post</Button>
)}
</>
)}
</Container>
</main>
);
};
|
The UI is now done, in the next part we will create the hooks to fetch the data from the database.
Next step the hooks 🎣